Getting Started with the Figaro NuGet Packages
Monday, November 14, 2016

The purpose of this post is to outline the steps for getting the Figaro NuGet package up and running for your project.
Getting Ready
Before you get started, there are two things you need to determine: what product edition you want to use, and and which platform. Currently NuGet packages are distributed for 32 and 64 bit platforms separately, as the Figaro code is C++/CLI and tightly bound to the platform it is built for. In this example we will use the 64-bit DS edition for a Console application.

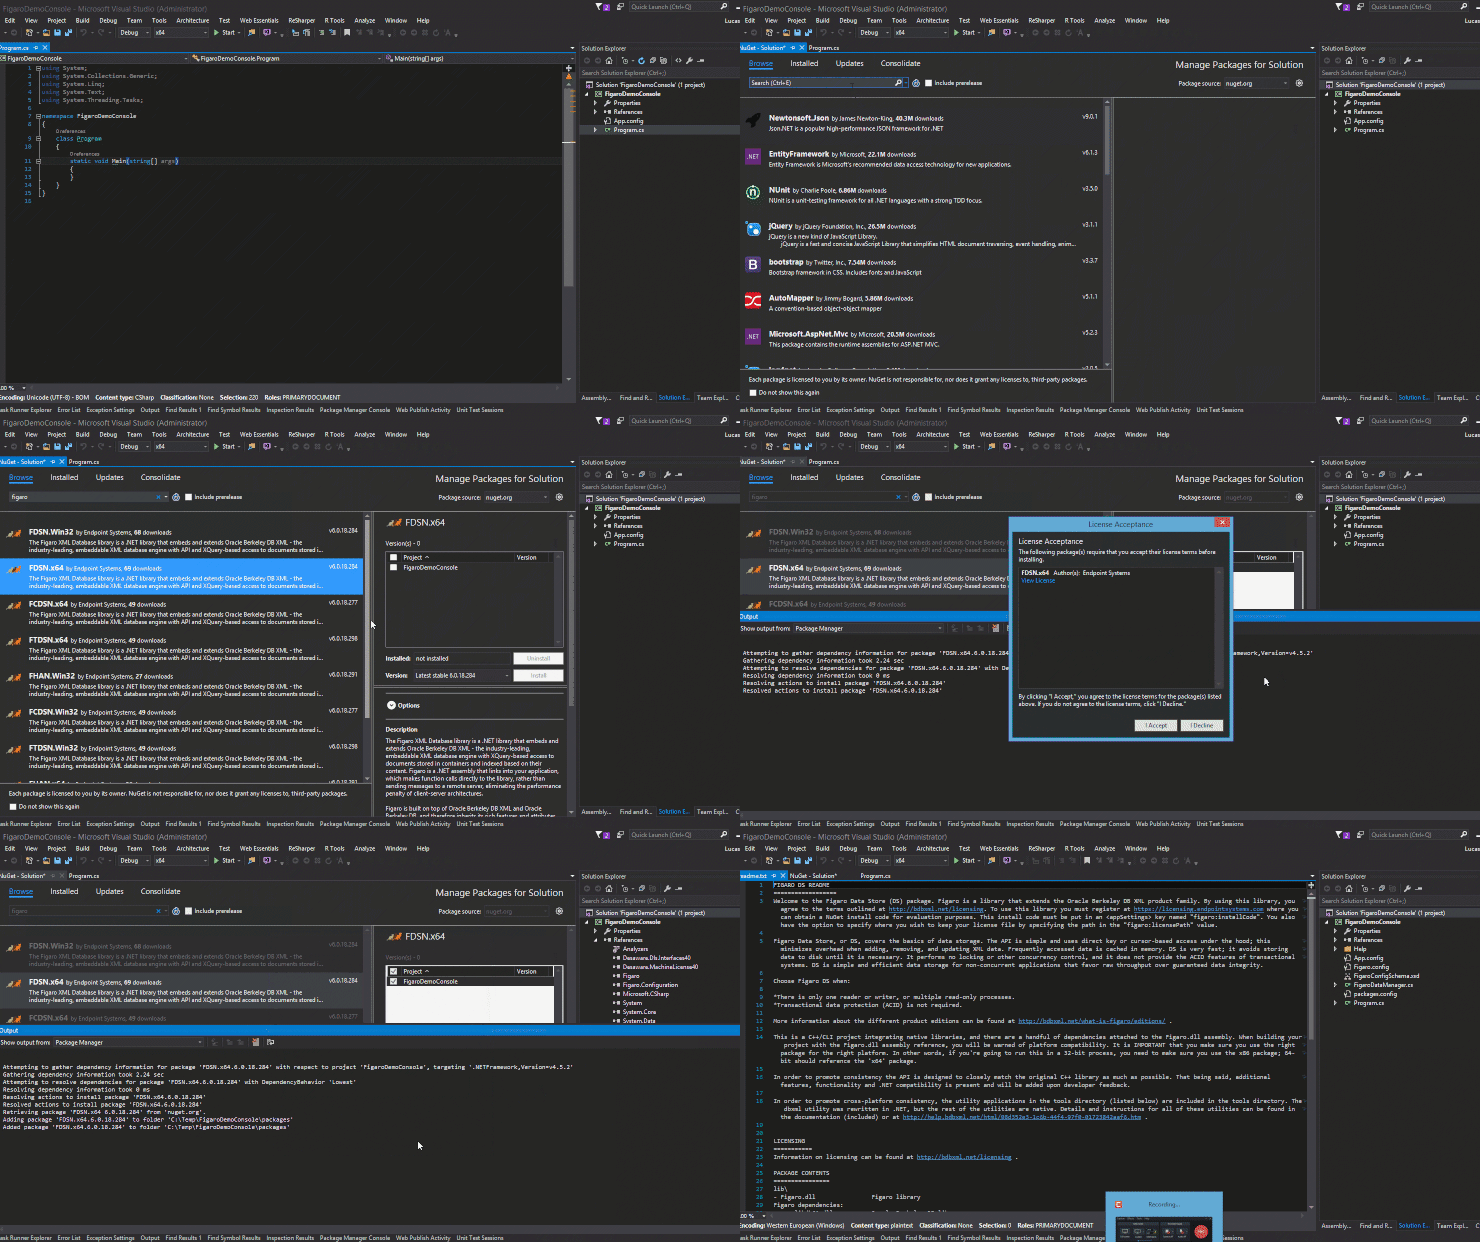
When you create the project, we right-click on the solution and select Configuration Manager…
Visual Studio knows the routine. Click Ok and Close on the windows. Your application is now running on the 64-bit version of the .NET Framework. At this point you’re ready to add your NuGet package.
A quick search of ‘figaro’ in the search text should give you a list of all Figaro packages on NuGet. We want Figaro Data Store 64-bit, so we select FDSN.x64 and press the Install button.

You will then be greeted with a README file detailing the contents of the NuGet package. Read this! It contains very detailed information about the package and the utility apps available to you for administration/maintenance.
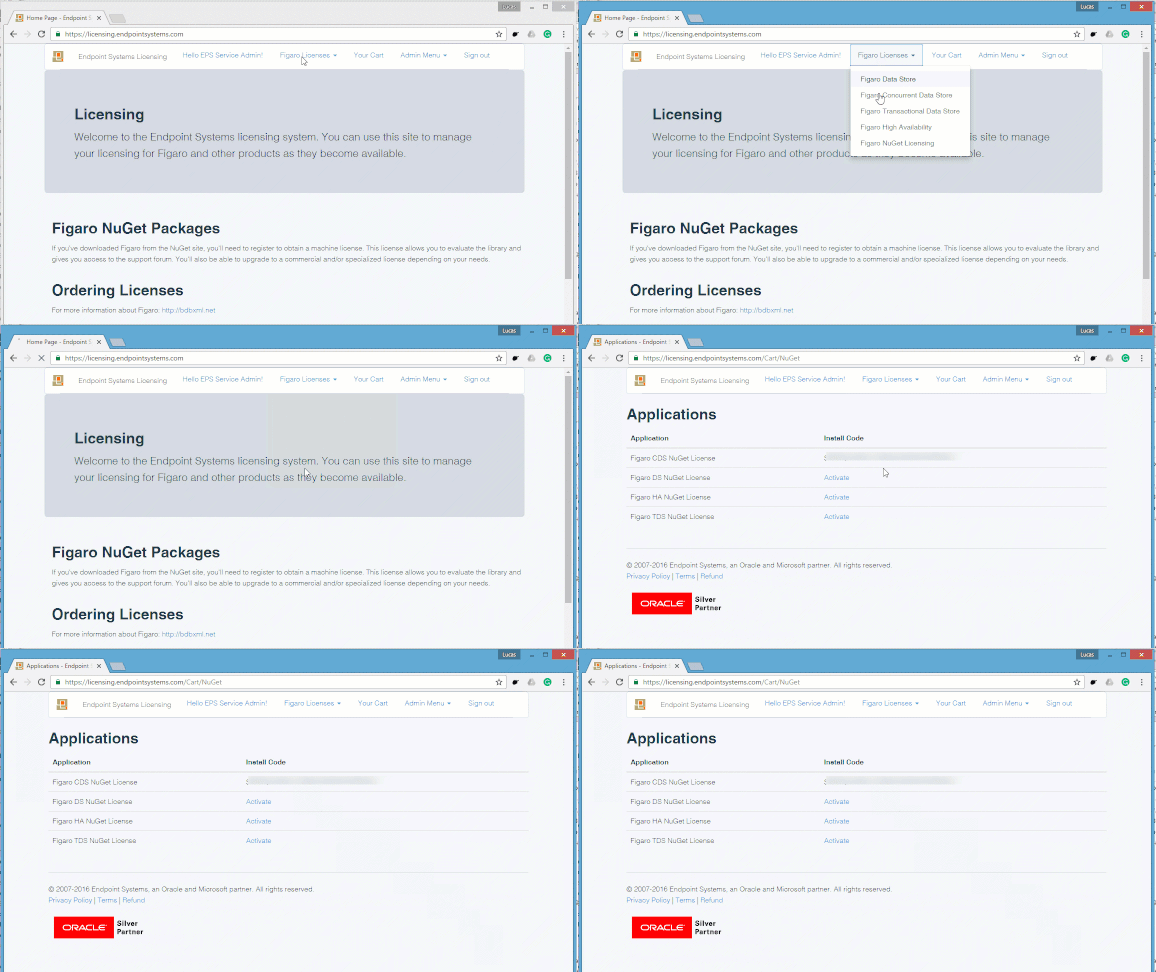
We’re almost ready to start using the library in our package – now we need to get a license install code. This can be picked up at https://licensing.endpointsystems.com where a NuGet license can be picked up for free – to get this, you must register with the site and sign in. Once you’re in, click on Figaro Licenses and select Figaro NuGet Licensing.

Once you get the install code, go to your App.config file and put the value in the figaro:installCode key. When you initialize your application, the library will install a license key. You can control where the license key goes by specifying a path in the figaro:installPath key.